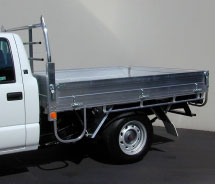
Ute Tray® in open and closed positions
(Mouseover to toggle between views)
|
|
|
|
Ute Bed® Installation
Colorado/Canyon
Chassis-Cab
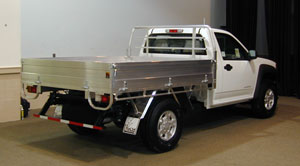
Ute Bed® with drop-sides
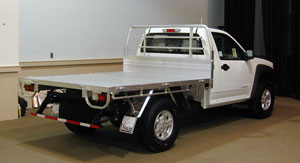
Ute Bed® with sides removed
|
|
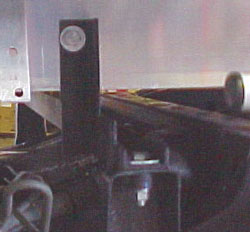
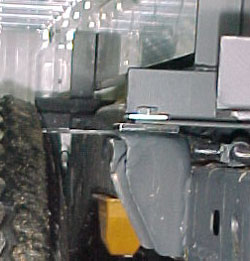
Front mount:
Install one of the three mounting brackets using
One square washer on top with bolt, then a lock washer or locking nut with washer on the bottom side of the mount point.
Just snug the bolts for now. Do not tighten yet.
|
|
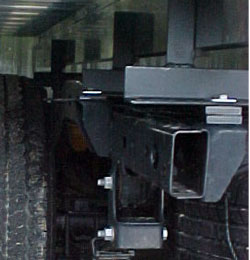
Middle mount:
This mount requires a 1/4 inch spacer and a longer bolt. This mount is just long enough that the bolts fit in the end of the slots. It will be a snug fit. Use one square washer on top with bolt, then a lock washer or locking nut with washer on the bottom side of the mount point. You can go ahead and torque these bolts tight since there is no room for adjustment.
|
|
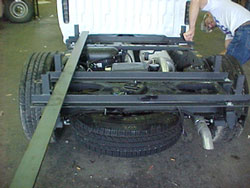
Rear mount:
This mount will require a 1 inch spacer. (Two half inch spacers are used in this photo, but measure your washers to insure the proper spacing is acheived.) One square washer on top with bolt, then a lock washer or locking nut with washer on the bottom side of the mount point.
|
|
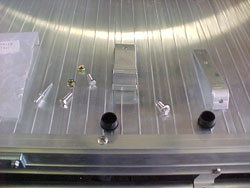
Alignment:
Once all of the mounts are in place, use a flat bar to align mounts with the mid mount. Once squared, tighten all bolts.
|
|
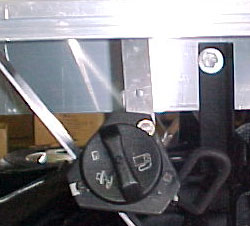
Fuel filler kit: |
|
Fuel filler attached to bottom of one of the main extrusions.
(Bolt through one of the "wide" ribs from under side using a self tapping bolt.) Mount the fuel filler as high on the tab as possible. Just leave enough room to be able to remove the cap. Be sure that the return breather hose is oriented to 12 o'clock to insure proper operation when filling. |
|
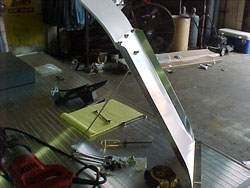
Fenders and Mud Flaps:
Pre-assemble the fenders with supports and bolt on the flaps prior to installation.
|
|
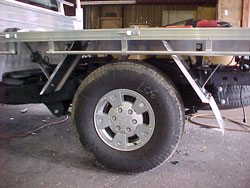
Clamp the fender to one of the "wide ribs" from the underside then fasten with a self tapping screw. Next, pull the angled support back to one of the wide ribs and fasten with a self tapping screw. Repeat this process for front and rear fenders on both sides. |
|
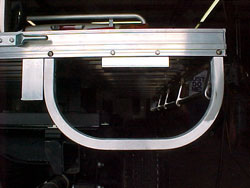
Rear step/light protector:
(see instruction sheet)
|
|
|
|


